
As if working on the functionality of an web application wasn’t enough, you are also expected to style it and make it look nice. I had the hardest time figuring out the easiest but also the “appropriate” way of doing so. Searching around the internet I couldn’t find something to tell me this is the way it should be done while in the industry, so I will assume that there is no right way or wrong way of doing this. It all depends on the purpose of the app and what works best on the size of your app.
There are 3 common way of styling the app and I am listing these on what I found to be the easiest to the hardest.
- Cascading Stylesheets (CSS)
- Inline styles
- Styling libraries
CSS
By far this is the easiest way to style our web applications. If you have been coding for a while there is the familiarity of using a CSS file to hold all the styling for the page/application. We use id’s and classes and we access them via # or . respectively and it’s all the same as styling an HTML file.
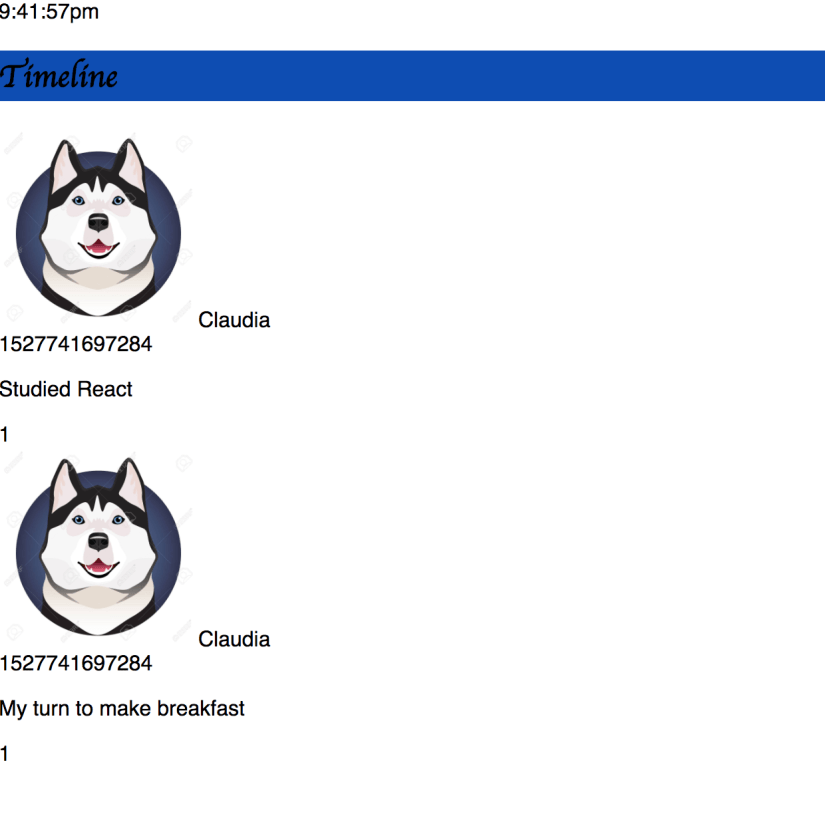
Looking at our title from previous blogs we can style it with our already created ClassName attributes. First thing is we have to add our <link /> tag to our index.html page
<link rel=”stylesheet” type=”text/css” href=”app.css”>
As a reminder, our code looks like this:
This file contains hidden or bidirectional Unicode text that may be interpreted or compiled differently than what appears below. To review, open the file in an editor that reveals hidden Unicode characters.
Learn more about bidirectional Unicode characters
| import React, { Component } from 'react'; | |
| class Title extends React.Component { | |
| render() { | |
| return ( | |
| <div className="header"> | |
| <h2 className="title"> | |
| {this.props.title} | |
| </h2> | |
| </div> | |
| ); | |
| } | |
| } | |
| export default Title; |
And our new .css file will have the following to change the Title component
This file contains hidden or bidirectional Unicode text that may be interpreted or compiled differently than what appears below. To review, open the file in an editor that reveals hidden Unicode characters.
Learn more about bidirectional Unicode characters
| .header { | |
| background: #0e4db2; | |
| } | |
| h2 { | |
| font-family: cursive; | |
| font-size: 24px; | |
| } |
What we end up with is a simple change to our title component
There are some issues with doing our styling this way. If we were to have a different component anywhere in our app with the same className of “Header” it would also be affected by the styling that we created here. So this might not be the best way to style our app if it is large or we have some ads.
React provides a new, but not really new way of dealing with this.
Inline Styles
First time I encountered this I was like “no no no nono”

Up until now everything I had read, and every course that I had taken was against using inline styling. The functionality was separate from the styling which was to be kept separate from the HTML. Now they want me to throw that away and put my CSS on the same file as my logic and my HTML.

There are some good arguments to doing so but it’s going to take a while to get used to this. Let’s see why it works and how to do it.
One part that I found really interesting for doing our styling inline is that this allows us to dynamically define styles based upon different states of the app. So if something is happening everything can be green and if its resting then it can be orange.
React allows us to do this using a JavaScript object.
Let’s make the changes to our same Title Component from before but this time we will not use the CSS file.
Defining styles inside a component is easy using the style prop. All DOM elements inside React accept a style property. This is pretty much the same syntax as CSS except that the keys defining a style name need to be camel-cased. for example backgroundColor instead of background-color or linearGradient instead of linear-gradient.
Example:
This file contains hidden or bidirectional Unicode text that may be interpreted or compiled differently than what appears below. To review, open the file in an editor that reveals hidden Unicode characters.
Learn more about bidirectional Unicode characters
| <div style={{backgroundColor: 'blue'}}> | |
| This text will have a blue background | |
| </div> |
You might have noticed the double set of braces {{}}. The inside set is the JavaScript object that we are passing. In JSX all code that we want processed by the compiler has to be inside {} so that is the outside set of braces.
Another way of doing this would be to pass in the object as a variable.
Example:
This file contains hidden or bidirectional Unicode text that may be interpreted or compiled differently than what appears below. To review, open the file in an editor that reveals hidden Unicode characters.
Learn more about bidirectional Unicode characters
| render() { | |
| const color1 = {backgroundColor: 'blue'}; | |
| return ( | |
| <div style={color1}> | |
| This text will have a blue background | |
| </div> | |
| ); | |
| } |
So now our Title Component with our inline styling will look like this:
This file contains hidden or bidirectional Unicode text that may be interpreted or compiled differently than what appears below. To review, open the file in an editor that reveals hidden Unicode characters.
Learn more about bidirectional Unicode characters
| import React, { Component } from 'react'; | |
| class Title extends React.Component { | |
| render() { | |
| return ( | |
| <div style={{backgroundColor: '#0e4db2'}}> | |
| <h2 style={{fontFamily: 'cursive', fontSize: '24px'}}> | |
| {this.props.title} | |
| </h2> | |
| </div> | |
| ); | |
| } | |
| } | |
| export default Title; |
Notice that in our h2 we have two different stylings and they are separated by a comma. Our header looks exactly the same.
Styling libraries is a bit more complex and I feel that they need their own separate blog so we will discuss the tomorrow. Go forth and style your react apps.
